Oar Making Steps
These are the steps on how we (The Fancy's) have made oars for over 40 years from a solid piece of wooden plank.

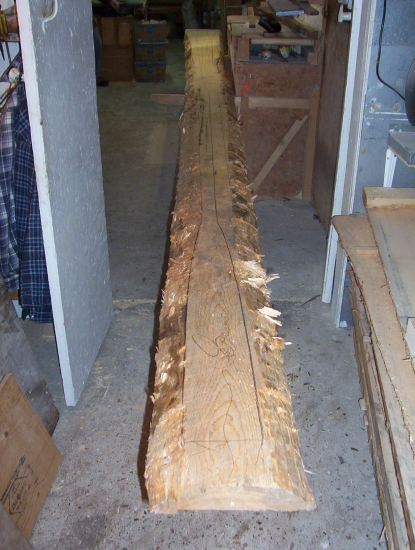
The oar plank arrives green (freshly cut) a little better then 2" in thickness and it can be the total length and width of the tree.
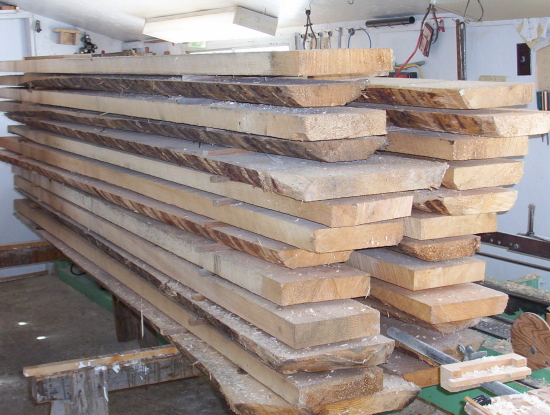
The plank is checked for any wood defects (knots, cracks etc.). These are avoided as much as possible.
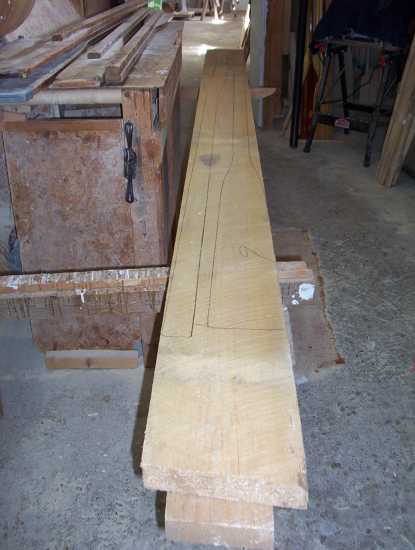
Different length oar patterns are placed around the defects and marked out.
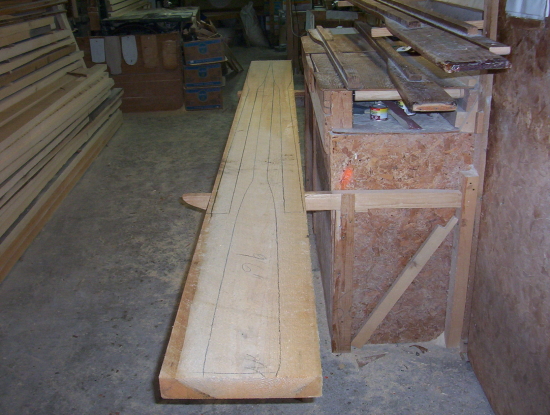
The patterns used are from the old oar mill in blockhouse 50+ years ago.
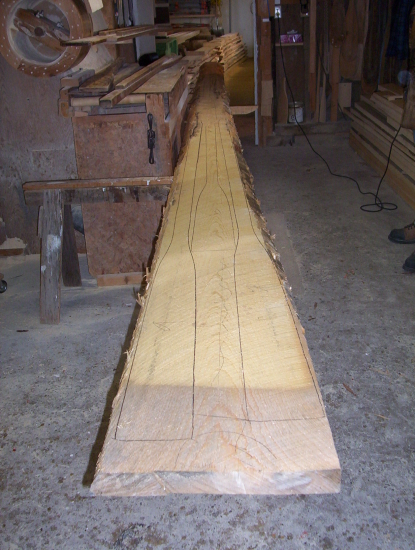
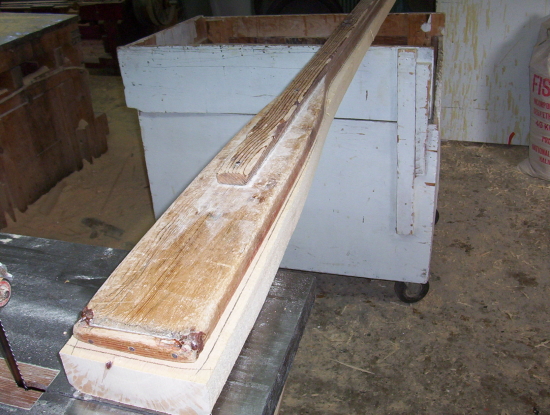
This one plank was 24 feet long, 20" wide by 2 1/2" thick.
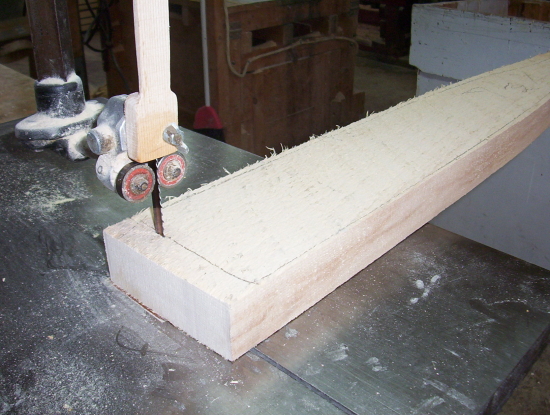
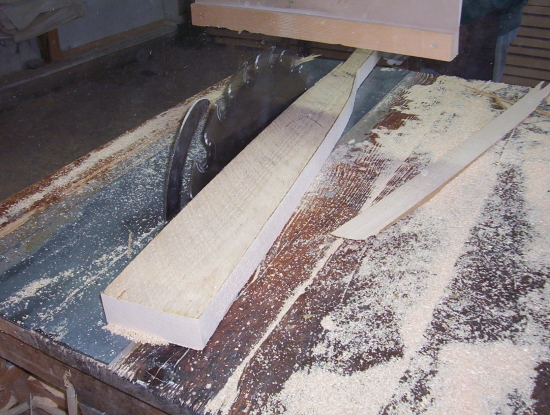
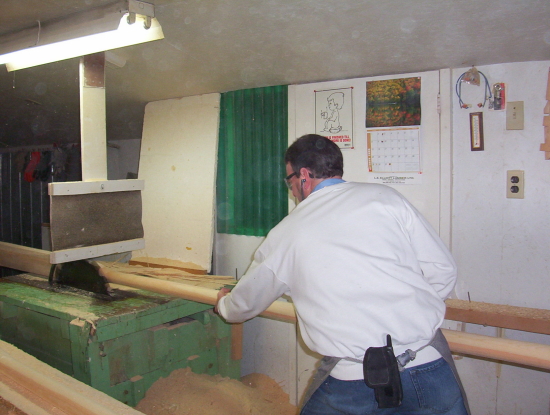
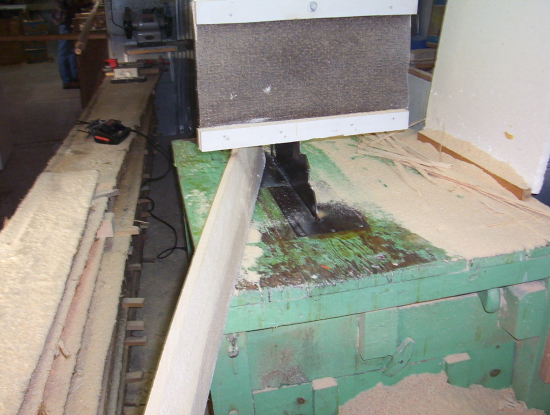
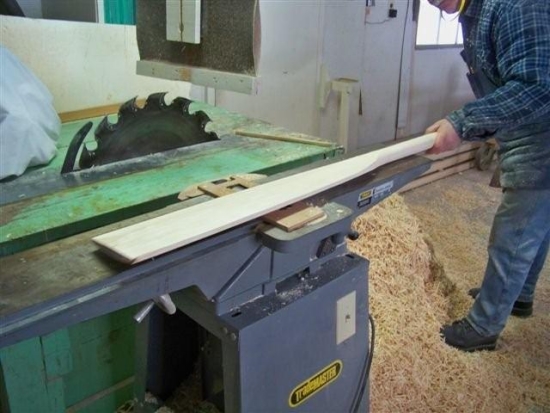
The oars are now sawed out on a bandsaw.
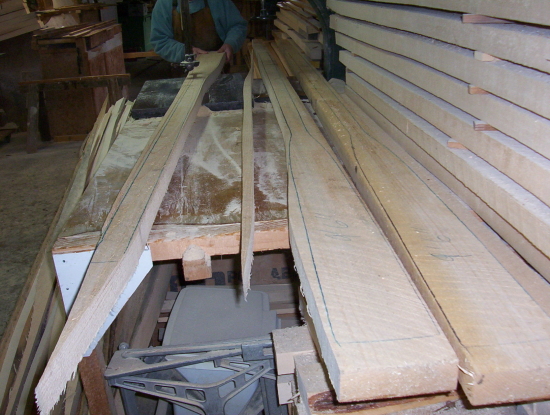
Lines are left on so it can be turned over and remarked after the drying stage.
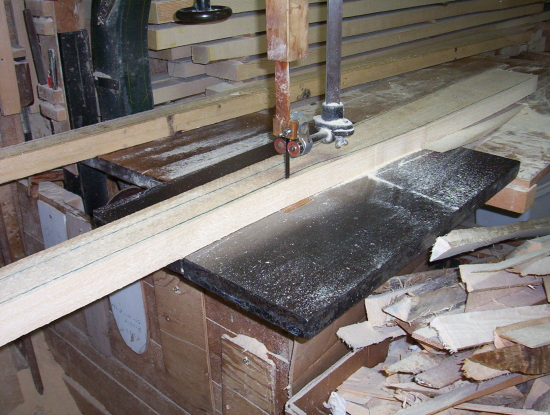
The oars takes on a block form.
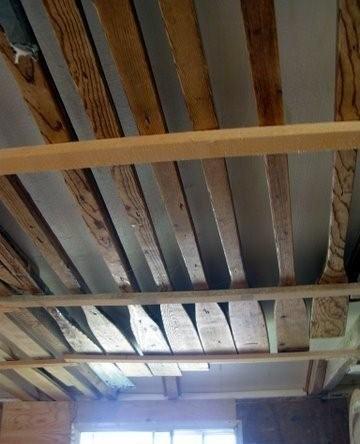
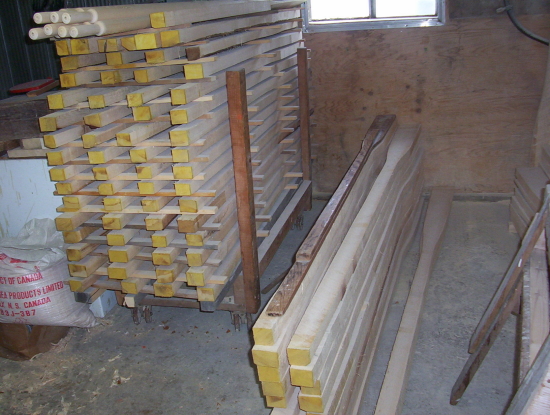
Oars are staked on wagons for the drying stage.
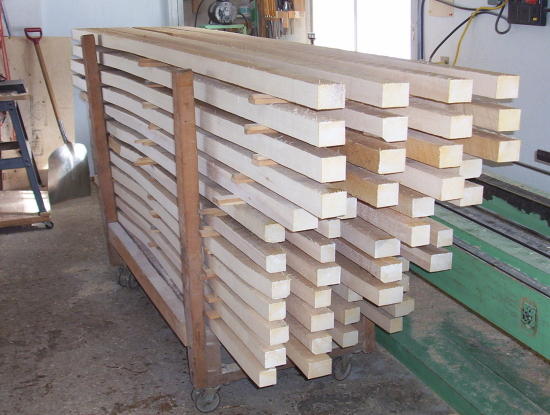
Wax sealer is put on the ends to help so the wood will not dry out and crack as fast.
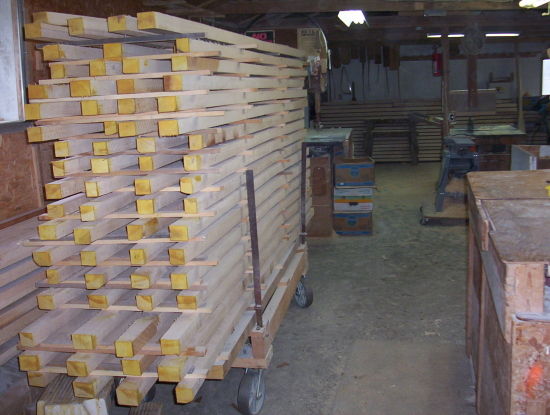
You see them here and there around the shop.
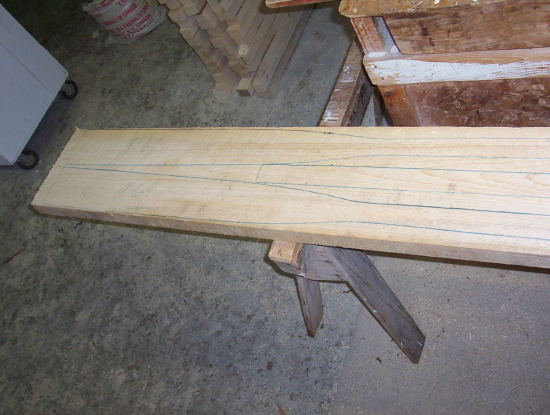
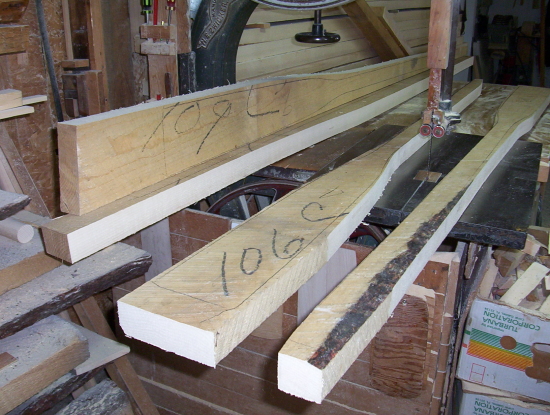
After the drying stage the oar is remarked.

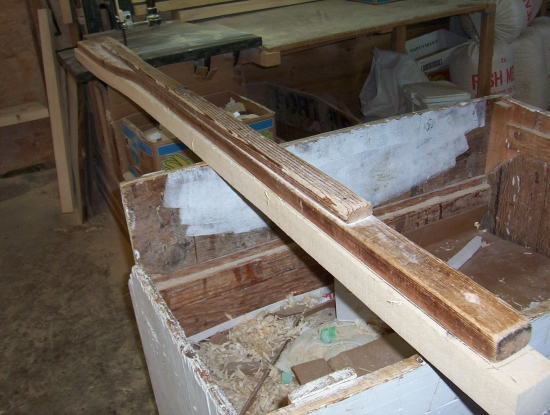
The oar is trimmed about 1 1/2" longer then required.
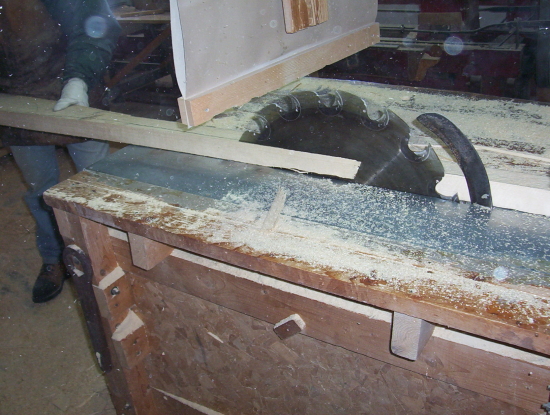
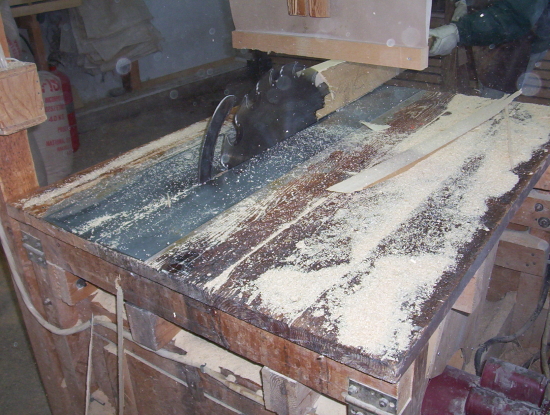
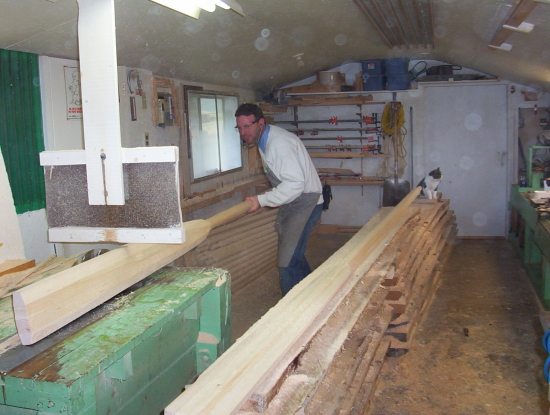
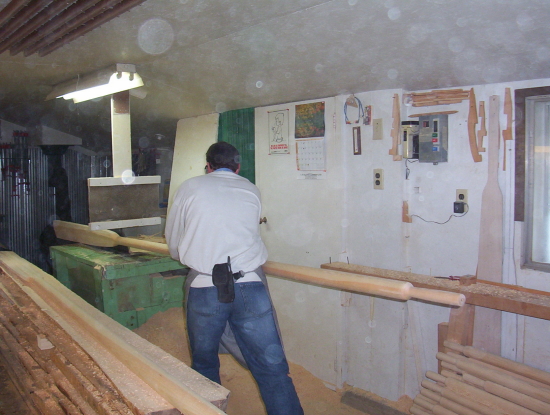
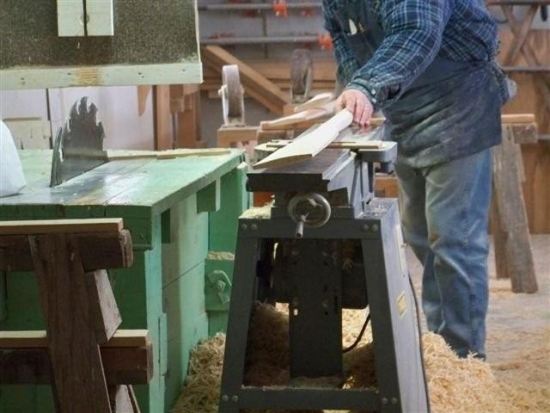
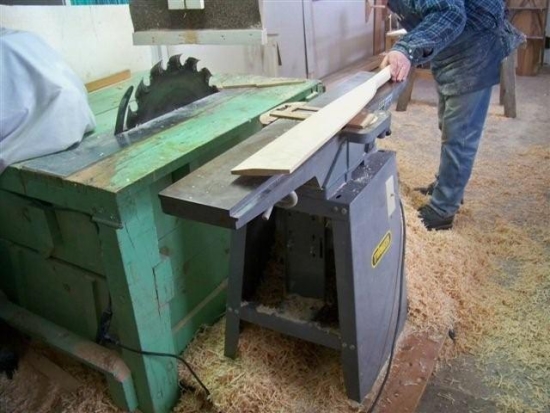
The oars is now cut out on the table saw from the handle to the neck of the blade.
Then from the blade to the neck.
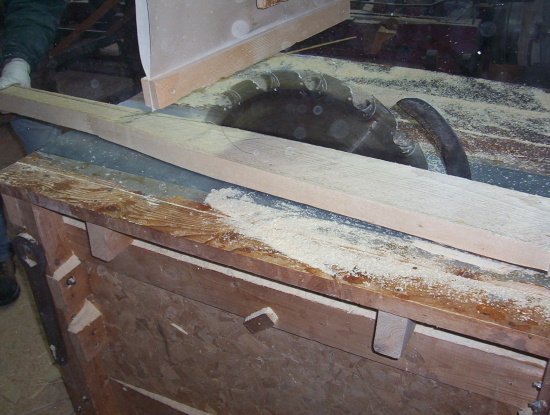
Below shows where a little is sawed off to straighten the oar.
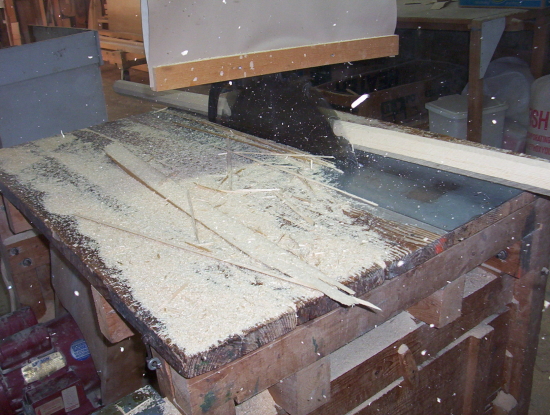
The corners of the shaft are sawed off to make it octagon.
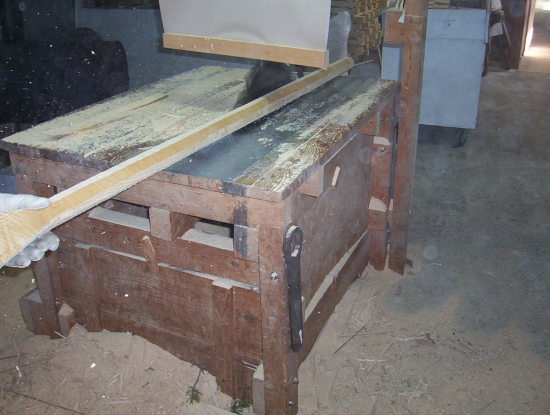
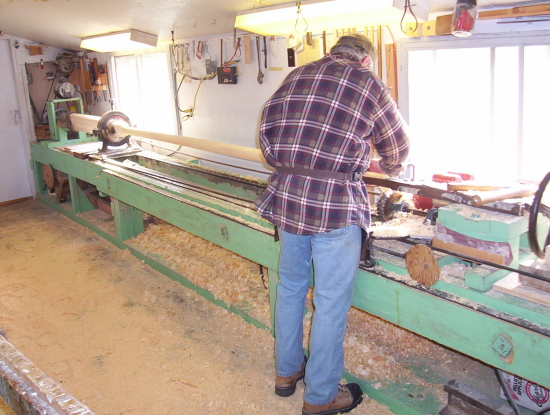
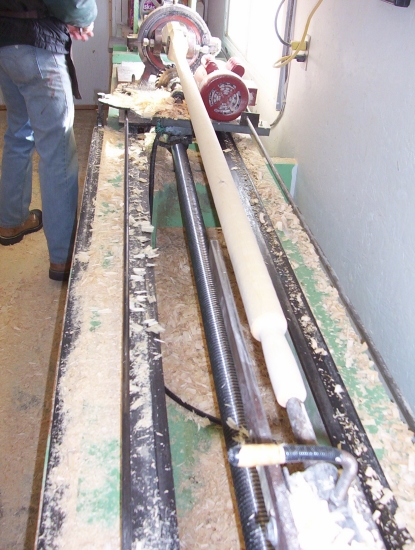
The oar is now ready to be turned.
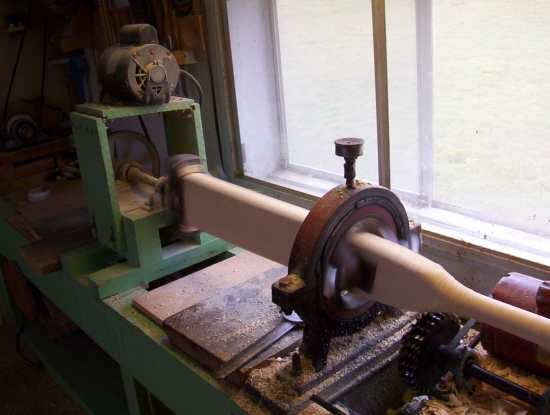
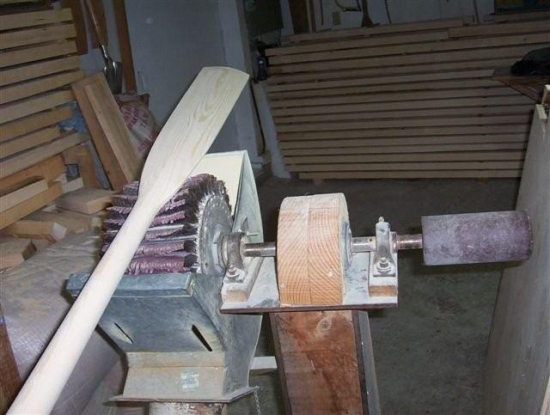
Placing in the lathe.
Blade is centered in two places with bolts and nuts to lock it.
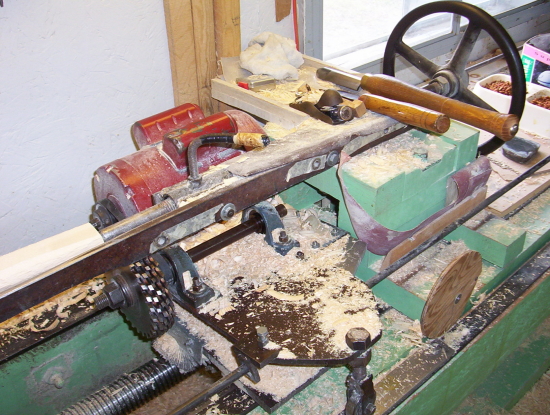
Oar handle end and chisel rest.
Pencil marks are added to center the oar in three spots, the handle, center shaft, plus neck-blade end.
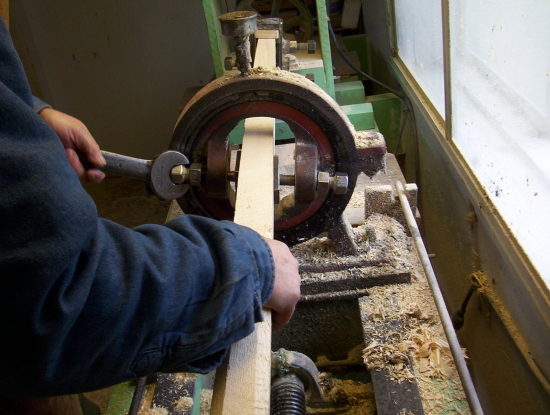
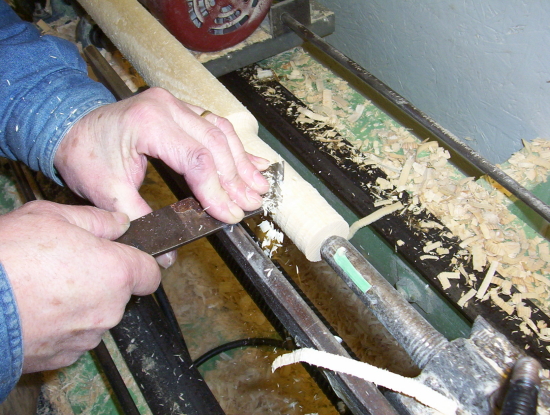
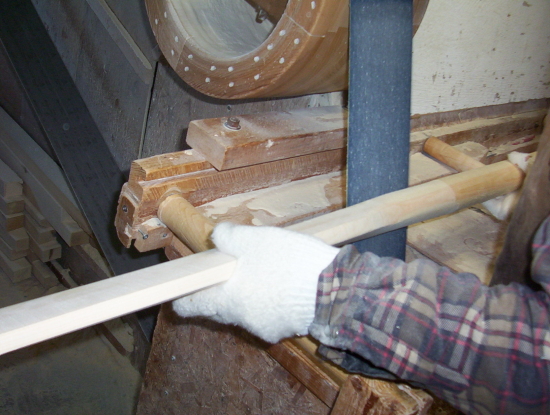
The cutters start up or down the shaft, the oar handle in marked.
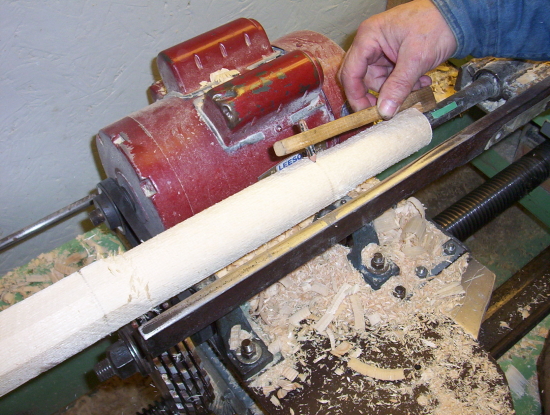
Then the handle is shaped out free hand with a large gouge chisel.
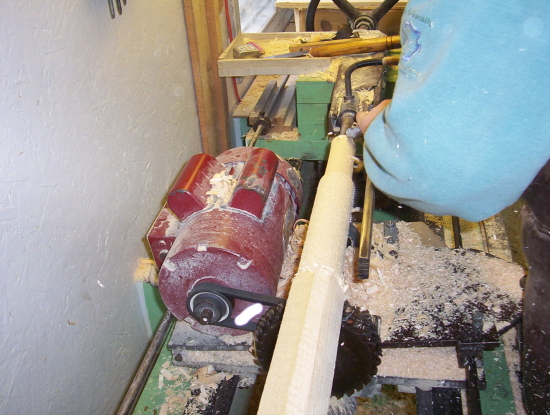
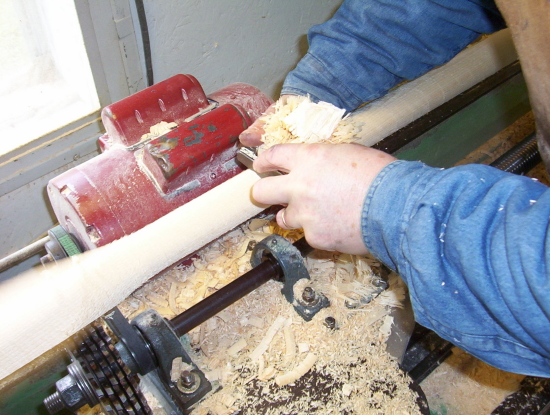
Cutters are still shaping the shaft.
The handle is flat chiseled to size.
Still shaping the shaft.

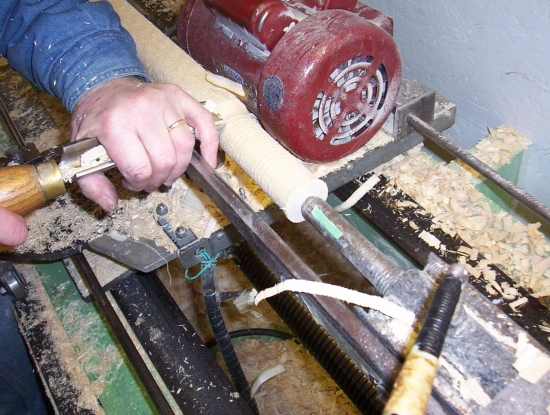
Handle is sanded.
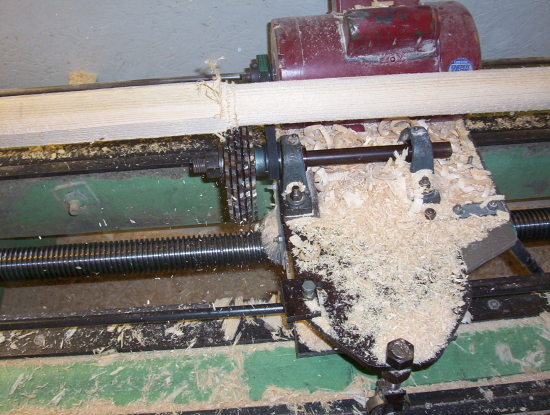
Cutters done.
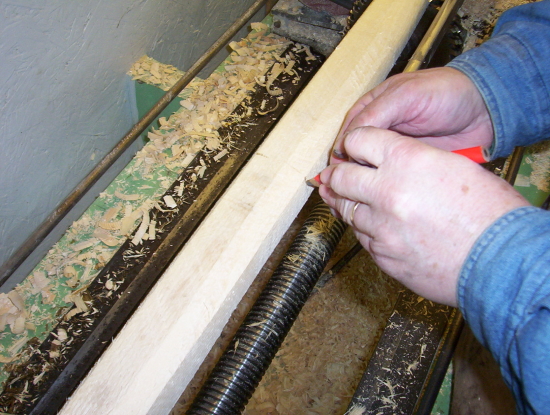
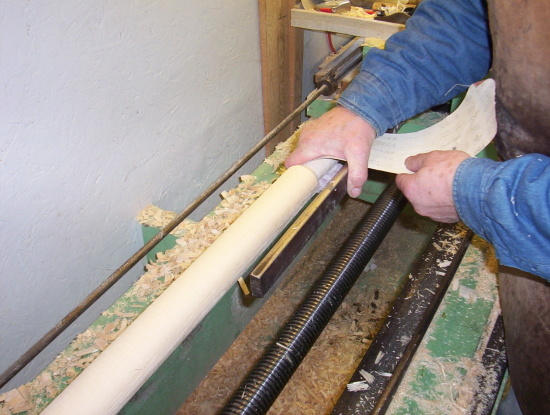
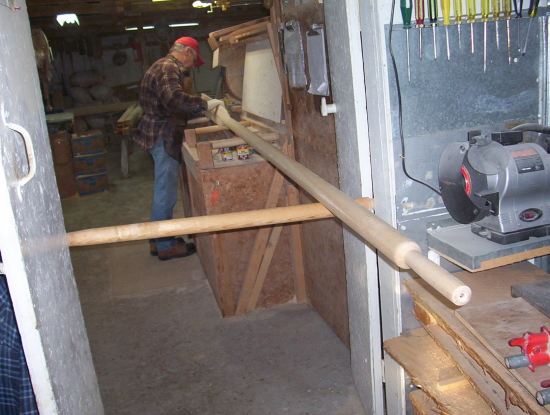
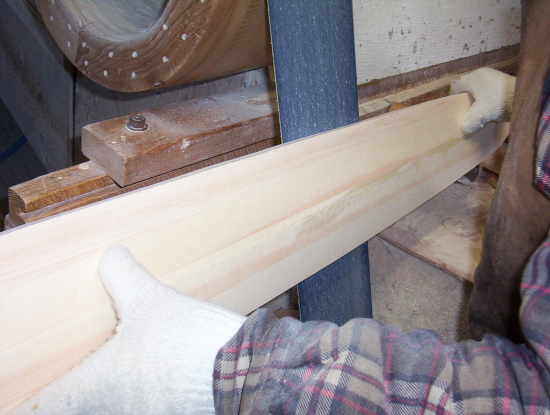
Shaft is now hand planed to take away the saw cut marks, this helps to makes it smoother and the correct size before sanding.
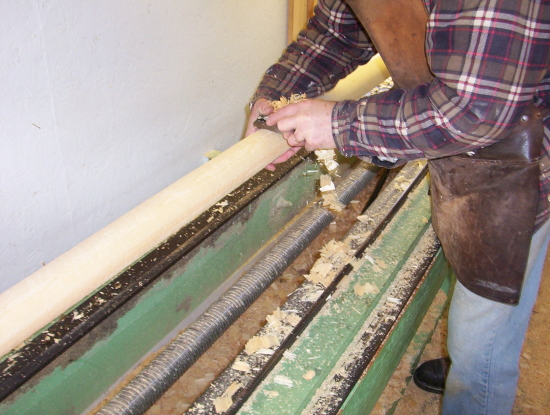
The oar blade is now ready for slabbing.
Holding the oar at the correct angle small pieces are slowly sawed off all four sides.
Taking it to about 1/8" thicker then needed. This is all done by hand to eye coordination.
The blade is planed to take away the saw cut marks making it smoother and the correct size before sanding.
Trimming to length. (Photo to come)
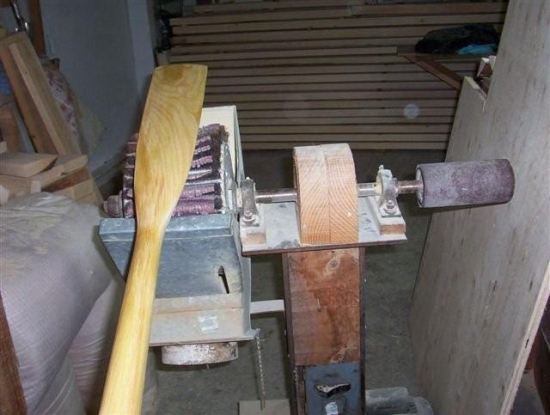
Sanding is in two stages a course belt first then fine.
Starting at the blade end and working to the neck.
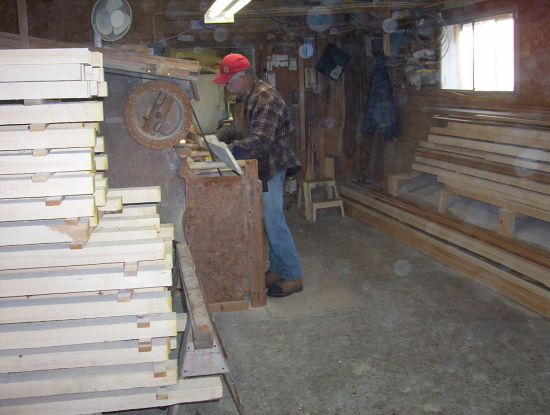
Rubbing across the belt to make it smooth.
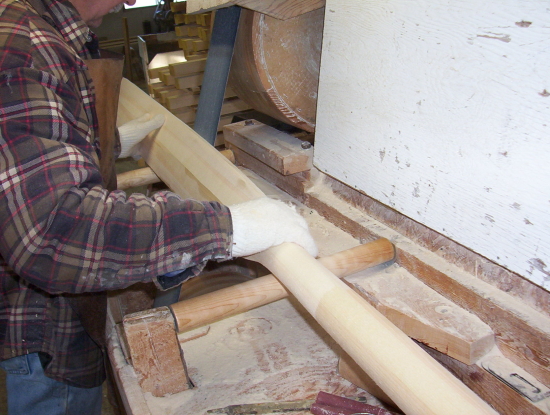
Rolling around the neck of the oar.
The oar spins in your hands to sand the shaft.
That why we wear gloves.
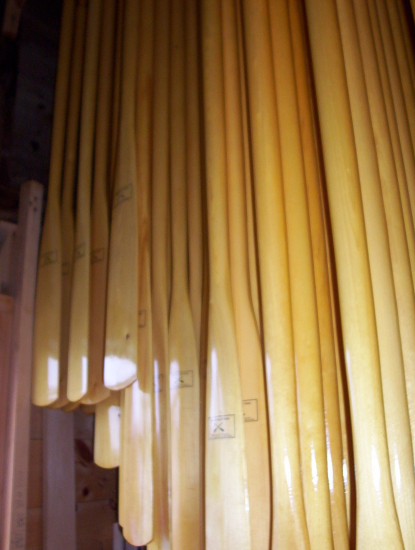
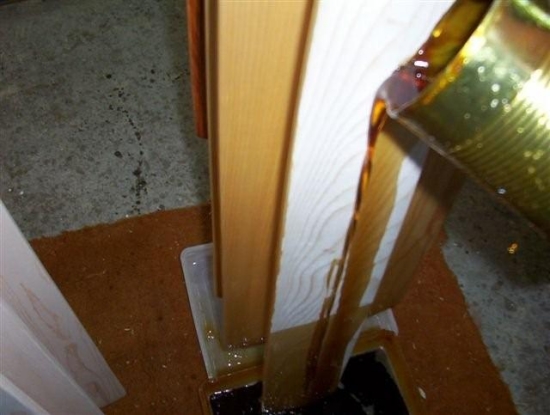
Buffing and varnishing is three coats for sure maybe four this depends on how the first coat sets.
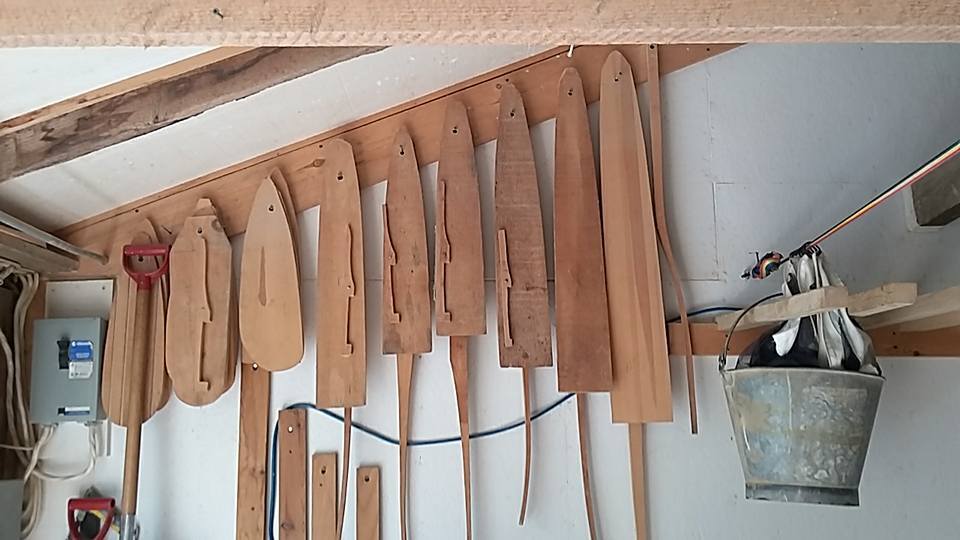
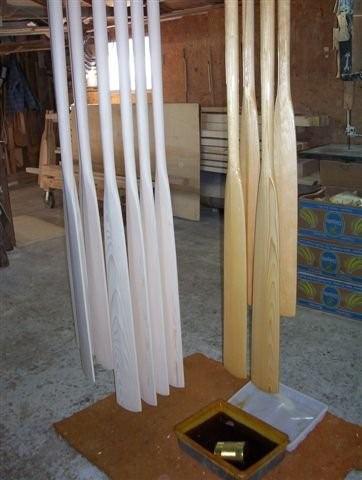
A small staple is placed in the handle to hang the oar from the ceiling.
Varnish is mixed in a tray and poured all over the oar.
Drying stage.
Another buffing.
Stickers are placed on.
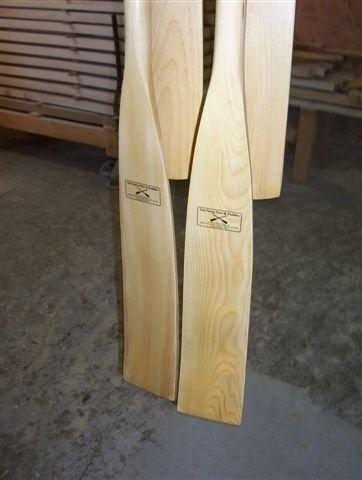
Last coat of varnish.